Graphic


This page has not been translated into Kirundi. Visit the Kirundi page for resources in that language.
This section assumes you have already set your Main Alert Location. Once that is done, you can set the other four alert locations on the FEMA App. The changes will be highlighted in purple.
You are on the “Settings” screen. Click on “Locations and Alerts” under “More Settings.”
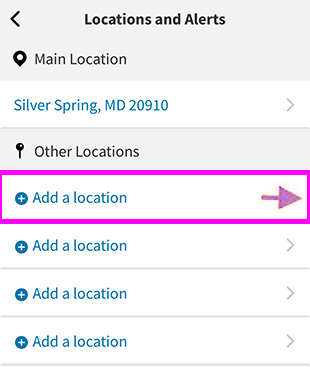
You should be on the “Locations and Alerts” screen. Click “Add a location” under “Other Locations.”
This will take you to the “Add a Location” screen. Type the zip code of the area for which you want alerts.

After you have entered the zip code, an autocompleted city, state and zip code will appear. In this case, Des Moines, IA, 50307 was selected.

Click “Save” to save the location.

You should see the “Locations and Alerts” screen with your “Main Location” and “Other Locations” you have picked. You may change or delete any location now. If you don’t want to delete any of these, click the arrow in the upper left corner and go to Step 8.

If you want to delete a location from “Other Locations”, on this “Locations and Alerts” screen, select and click the right arrow next to the location you wish to remove. (Note: Deleting your Main Location is covered here.)

Click on the “Delete location” button.

On the “Are you sure?” pop-up, select “OK” to delete that location. This will take you back to the “Locations and Alerts” screen.

Click the arrow in the upper left corner. It will take you back to the “Settings” screen.

Click the arrow in the upper left corner to take you to the home screen.

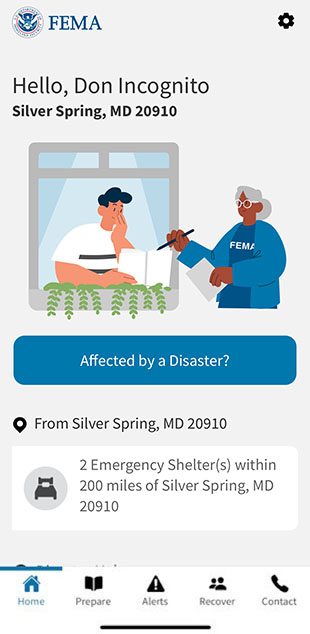
You are now back on the FEMA App home screen with your locations set and saved for alerts.